Overview
The prerequisites for this tutorial are that MySQL has already been installed and that a database has been created. The database name in these examples will be mcs.
Create Table
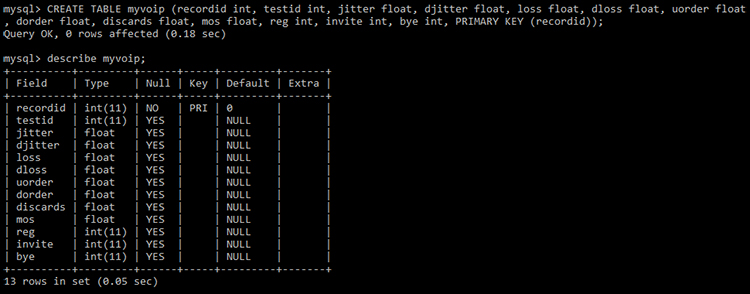
The CREATE TABLE statement below can be used to create a table named myvoip. The table includes some generic test metrics, such as ISP, IP and Session ID (SID), along with the results of the test.
CREATE TABLE myvoip (recordid int, testid int, jitter float, djitter float, loss float, dloss float, uorder float, dorder float, discards float, mos float, reg int, invite int, bye int, PRIMARY KEY (recordid));The image below is an example of copying and pasting the above statement into a MySQL command prompt. Once the table has been created, the describe tablename; command can be used to view the newly created table structure.
Enable MySQL
The next step is to enable MySQL in MyConnection Server (MCS). This step may have already been done. If not, click here.
Create Profile
With MySQL enabled and the table created, configure MCS to export data. The first step is to create a SQL profile.
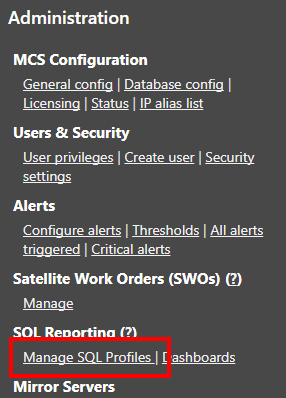
From the MCS main menu, click Manage SQL Profiles in the administration panel.
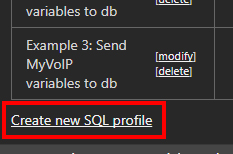
On the resulting page, click Create new SQL profile.
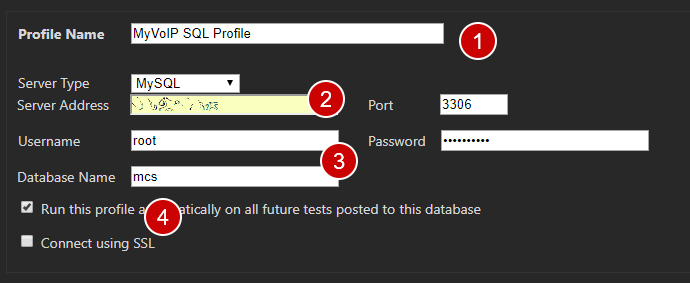
The first step when creating a new profile is to enter the connection settings:
- Name: Enter a name for the profile. This will appear in the list of profiles on the previous page.
- Server Type & Address: Select MySQL from the dropdown and enter the IP/domain and port number of the MySQL database.
- Credentials & DB: Enter the login credentials for the MySQL server and the database name that contains the table created in the first part of this tutorial.
- Run: Check the Run... box. With this box checked, the SQL profile will run each time a VoIP test is run, ensuring all data gets exported.
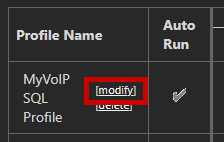
Save the profile, which will return to the profiles list. Immediately modify the profile, as the next step is defining the export data.
Define Export Data
The SQL Statements to run text box is where the export data is specified, in the form of an INSERT INTO statement.
The INSERT INTO statement below matches the CREATE TABLE specified in the first step. Copy and paste it into the text box.
[voip] INSERT INTO myvoip (recordid, testid, jitter, djitter, loss, dloss, uorder, dorder, discards, mos, reg, invite, bye) VALUES (%RECORDID%, %TESTID%, %VOIP.JITTER%, %VOIP.DJITTER%, %VOIP.LOSS%, %VOIP.DLOSS%, %VOIP.ORDER%, %VOIP.DORDER%, %VOIP.DISCARDS%, %VOIP.MOS%, %VOIP.REGISTER%, %VOIP.INVITE%, %VOIP.BYE%);Once pasted, it should look like this:

Save the profile to complete the process.
Now, whenever a VoIP test is run, this MySQL export should run and put data in the database.
When using a MySQL command prompt, the data for a table can be viewed by using the command select * from tablename.

If data does not appear in the database, check the SQL logs. These can be found in the /logs/ directory of the root install of MCS.

