You are here
Custom Pre Test Graphics

When a test loads in MCS there are a couple of GUI views.
All three can be customized. Other aspects can also be changed, like whether or not to auto download the BSC when it isn't detected.
This page will show how to customize these areas.
All the customizeable options are contained in a JavaScript variable. MCS detects this custom file and uses the variables within instead of the defaults.
Click here to download a zip file that contains an example JavaScript file. The file includes comments to explain each option.
Note: You don't have to include EVERY option. Just the ones you want to change. MCS uses its defaults when no custom value is found.
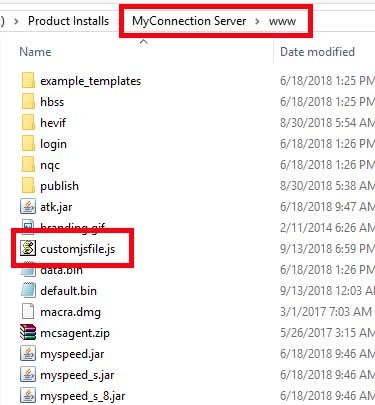
Place the custom JavaScript file in the /www/ directory of MCS, as shown below.
Note: The name of the JavaScript file itself can be changed. For example it may be useful to rename it the same as the test page that uses it; useful when having numerous custom JavaScript files.
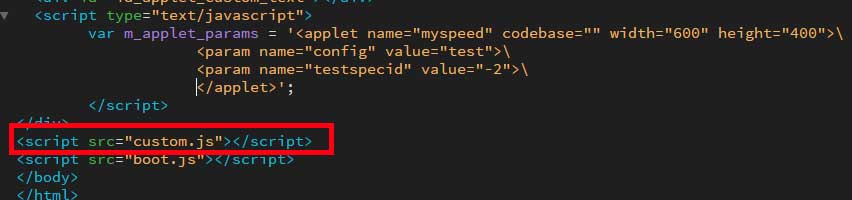
Now you have to make the newly created JavaScript file accessible to the test. This is done by including it in the test page, like the boot.lib is currently included.
The only requirement is that the include code is added BEFORE the boot.lib include.
Now, when the test loads the custom values that have been specified will be used