
Below is an example of ALL the options available when defining a traffic light widget. Some options are required, the options that are not required don't need to be defined unless something other than default is desired.
var ppf_widgets = {
    example_light: { //Name of widget, these must be unique within the ppf_widget definitions
        data: 'speed',
        ele: ['trafficlights'],
        type: 9,
        width: "200px",
        height: "60px",
        p_bgcol: '#488fe1',
        thr_col: {
            good: ["#3a8312","#ffffff"],
            bad: ["#b21d1d","#ffffff"],
            okay: ["#dbb43f","#000000"]
        },
        p_border: "",
        top: {
            txtalign: "left",
            txtcol: "#ffffff",
            txtsz: "14px",
            txtweight: "",
            padding: "0px 0px 0px 10px",
            text: "Download Speed"
        },
        middle: {
            txtalign: "left",
            txtcol: "#ffffff",
            txtsz: "14px",
            txtweight: "",
            padding: "0px 0px 0px 10px",
            text: "$$speed.dspeed$$ Kbps"
        },
        left: {
            txtalign: "left",
            txtcol: "#ffffff",
            txtsz: "14px",
            txtweight: "",
            padding: "0px 0px 0px 10px",
            text: "Throughput"
        },
        depend: [[]]
    }
}| Key | Value |
| ele | Required. The element(s) defined here refer to HTML elements that should be present in the HTML page that pairs with the PPF. So, if the HTML element the table should appear in is the ele definition would be |
| data | Required. Data refers to the data set name that should be used for the text. For example, if the following data set had been defined The data value for the text would be... |
| type | Required. Text is type 9 and must be defined. When defined it should look like this |
| width | Width of the traffic light widget as it will appear on the page. |
| height | Height of the traffic light widget as it will appear on the page. |
| p_bgcol | This sets the background color of the widget. There are three ways you can set this: 1. Standard color Assign a hex color to set a standard color for the widget background. 2. Based on single metric The color of the background in this scenario will be based on if the metric result is considered good, okay, or bad. The colors for these thresholds are set in the thr_col setting below. 3. Based on numerous metrics The color of the background in this scenario will be based on the worst performing metric. In the example below if dspeed was good and uspeed was okay the color of the widget would match the okay criteria. |
| thr_col | When using a metric/metrics to define the background color of the traffic light widget there are three possible outcomes. Good, if the result is considered optimal, bad, if the results is considered to be well below par, and okay, if the result is acceptable. Each setting is a two part array, the first hex color is for the background color itself and the second is for the text color. |
| p_border |
If you wanted a border for the widget enter a border hex color here. |
| top middle bottom |
A traffic widget comprises of three rows. A top, middle, and bottom. Example below. 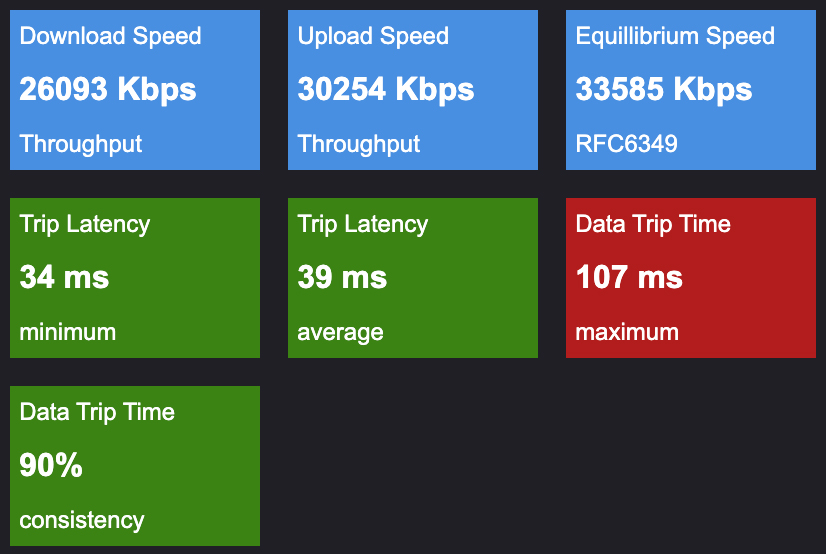 Traffic light example
To use a metric in the widget simply define it as $$plugintype.pluginmetric$$, as shown in the middle section above. |
| depend | Click here for dependency information. |